Professional Pictures With Your Phone
Taking pictures with your phone that will look like a professional took them takes a little bit of photography knowledge.
I am happy to share my photography experience with you so you capture better pictures with your phone.
Want to learn how to take professional photos with your iPhone or Android phone? Then you’re in the right place. Many manufacturers offer some of the best cameras to be found on smartphones, especially if you have the latest Apple phone. Even professional photographers are using iPhones for some photography work and there’s no denying that it’s possible to get incredible shots.
However, despite the fantastic camera arrays on smartphones, it’s still possible to get badly lit, poorly composed or just plain boring shots if you don’t know what you’re doing. Fortunately, a few tips can go a long way to help you get professional photos from a cell phone.
I have been a successful, award winning professional photographer for over fifteen years and experience is the key. The following guide will share my experience and suggest some simple things to bear in mind, like what settings to use and general pointers that apply to photography with any phone.


Use the Rule of Thirds and Unique Viewpoints
One of the biggest tips to take outstanding photos on a phone, is to use the rule of thirds. Dating way back to Renaissance art, the rule of thirds involves dividing your image into a three-by-three grid. Placing the main subjects of your photo along these lines can create much more visually arresting images. Think horizon line at the top or bottom of the frame depending on which is more import, the top of the frame or the bottom.

Use the rule of thirds and look for unusual viewpoints.
Create sense of depth in your phone photos.
Use the camera's manual mode function or portrait mode for people.
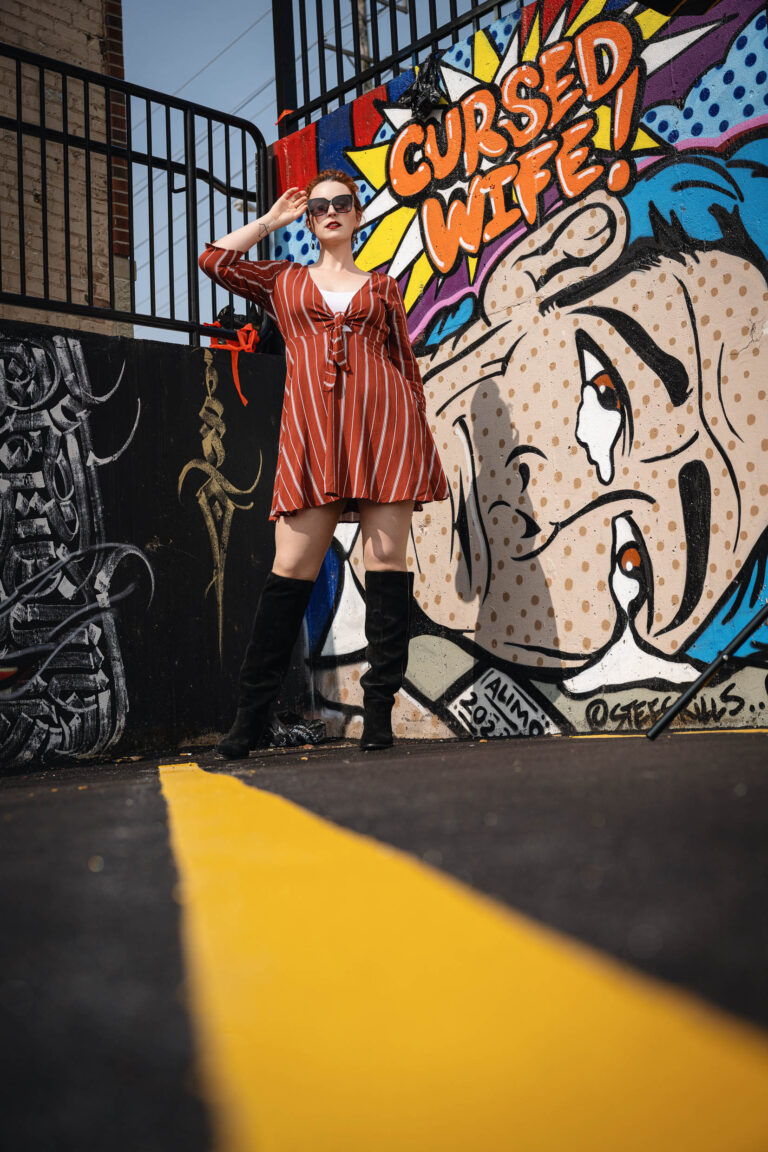
When we take a photo, we’re often tempted to place our subject bang centre of the shot, but it can actually produce a better image to place it to one side, leaving space for the subject to interact with or move into. Our brains like some symmetry, but not too much, and eye-catching compositions usually have unequal elements on each side of the frame. See if you can spot some different angles from my portrait portfolio pictures.
You can train yourself to use the rule of thirds by activating the grid lines in your phone camera settings. Go to the Camera section in the settings app and toggle the Grid switch to on.
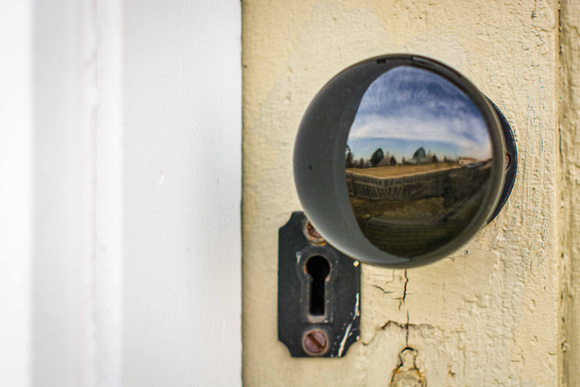
Another general photography tip that can be used to take more pro photos with your phone is to look for different, more original viewpoints rather than shoot everything from where you’re standing. Explore high and low angles to see how they change a scene. Different angles can reveal details and hidden symmetries in common everyday scenes. It tends to get people’s attention when they see a photograph of something they know, but view it in a different way.
Create a sense of depth in your phone photos
When composing photos, we often think in two dimensions initially, but an image with a sense of depth can be much more eye-catching. An easy way to create this with your phone is to way to shoot a close-up subject against an out-of-focus background (you can also do the opposite, with the main subject behind a slightly out-of-focus object in the foreground).
Your phone will focus on what it thinks is the subject of your photo, but it doesn’t always make the best choice. To focus somewhere else, simply tap on the screen to override the phone’s choice, then experiment with including different elements at different depths in your image.
Also, the phone camera will automatically adjust when you move it to adjust your composition, but you can lock the focus by tapping the screen and holding your finger down for a few seconds – AE/AF LOCK will appear in a yellow box at the top of your screen to let you know the focus and exposure have been locked, you can then move the phone and recompose your shot without the camera trying to refocus.
Perhaps consider including lines in your composition to help to create a sense of depth. Long, straight leading lines in a photo provide viewers with a roadmap that helps them make sense of the image. They can divide a photo into distinct parts and lead the eye around it, giving the photo a greater sense of depth.

Switch to Manual or Portrait Mode
Using your phone’s automatic settings make it easy to take fairly decent photos, but it’s often not the best way to take a pro photos. Taking the time to enter manual mode and adjust the exposure and focus yourself can help you get more creative images. It’s likely that your phone will often overexpose images that have an area of shadow in them, losing the detail in the brighter part of the image, and sometimes it can be better to take a shot that’s a little too dark than too bright since you can bring back some detail from the shadows when you edit.
Portrait mode on the phone creates a more shallow depth of field to make the subject stand out from the background, and it can create portraits that really pop. You’ll find it right next to photo mode above the shutter button when you open the camera app.
Take a minute to find how to manually change exposure on your phone without having to enter manual mode. You may just need to tap on the screen where you want to focus, and then swipe up or down to increase or create the exposure.
Lastly, be creative with your pictures; the result will impress you!
Have fun with your phone’s camera! Experiment with angles, lighting, and unique perspectives to capture moments in creative ways. There are no rules—just let your imagination guide you. Keep exploring, stay curious, and most importantly, enjoy the process of creating. Your next great shot could be just a tap away!


